How to Create Realistic Shading in Pyrography
 Kez Halliday
Learn realistic shading in pyrography with step-by-step tips for confident beginners and intermediates. Create depth, texture, and tone.
Because life’s too short for flat burn marks
If you’ve ever looked at your pyrography and thought, “Well, that looks… fine. But not quite real,” you’re not alone.
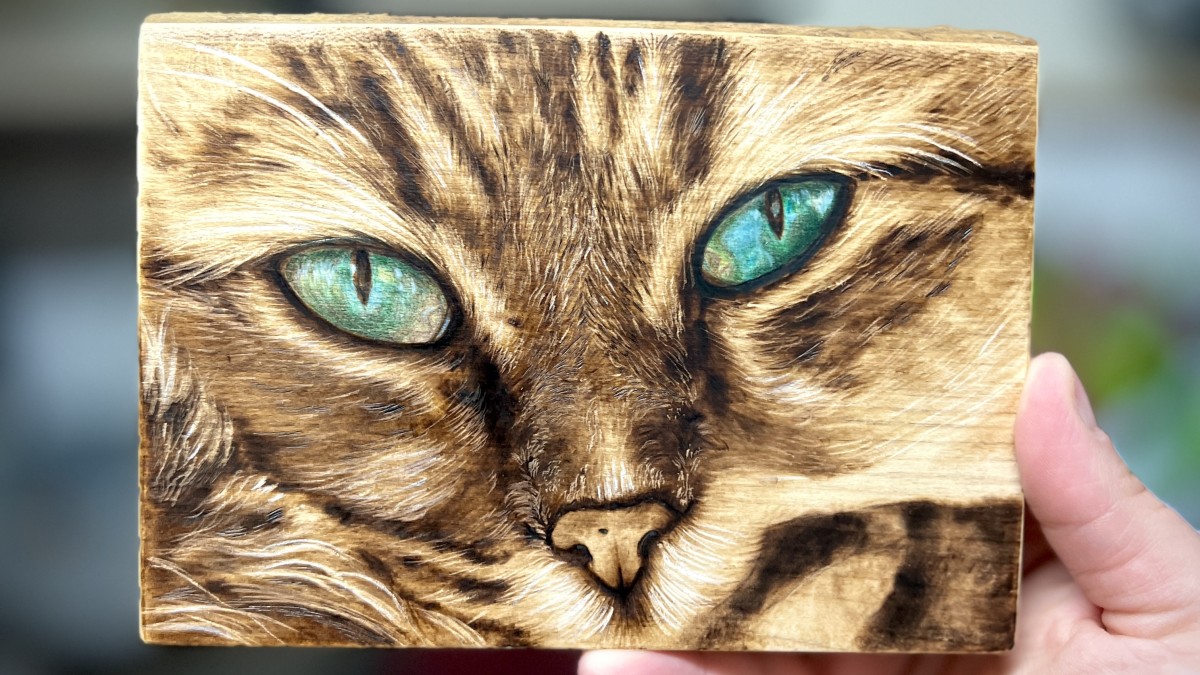
Shading is the not-so-secret ingredient that transforms a basic burn into something beautifully dimensional. It’s what gives fur its fluff, noses their shine, and faces their subtle curves. But getting it right takes more than just turning down the heat and hoping for the best.
So, whether you're a confident beginner or you’ve been burning for a while and want to level up — this one’s for you.
Let’s break it down into simple, practical steps.
Step 1: Understand What You’re Looking At
Before you even touch your pen to the wood, grab your reference photo. Really look at it.
You're not burning "an ear."
You're burning a range of values — from light to dark — that suggest an ear.
👉 Look for the light source: Where is the light hitting? Which areas are in shadow?
👉 Squint at your photo: This blurs out details so you can focus just on the dark and light shapes.
👉 Think in values: Try using 3–5 value ranges (light, midtone, dark) and train your eye to spot them.
Quick Win Tip: Convert your photo to black and white to help you separate tone from colour or texture.
Step 2: Use the Right Nib for the Job
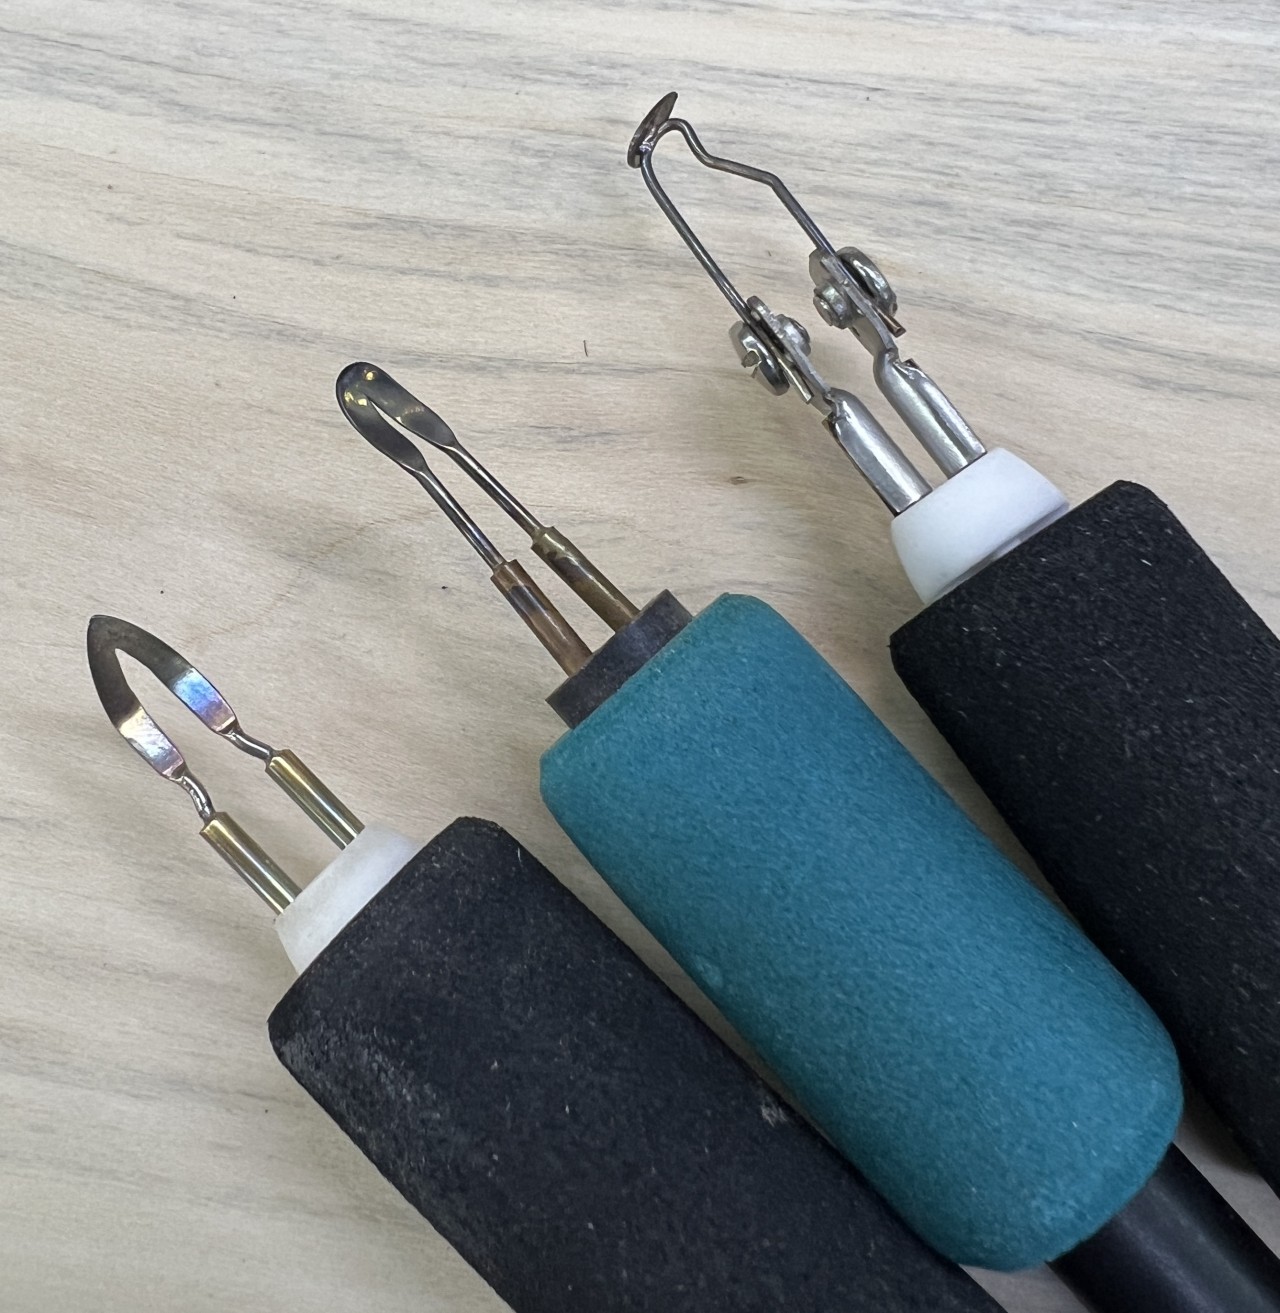
Different nibs = different results. For realistic shading, you’ll want something that glides and blends well.
⭐ Recommended Nibs for Shading:
-
Transfer/Shader Nib (rounded and flat) – Perfect for soft gradients and large areas.
-
Spear Shader – Great for controlled build-up in large and small areas.
-
Spoon Shader – Lovely for layering soft tones with minimal streaks.
Pick a nib that matches the area size and texture you're working on.
🎯 Don’t stress about having the “perfect” nib — it’s about control, not just the tool.
Step 3: Control Your Heat — Don’t Scorch the Earth
Set your burner to a low to medium heat. You want to build the tone slowly, not dive in like you’re grilling sausages on the barbeque.
Start lighter than you think you need — it’s far easier to build up a tone than to try to erase a dark one.
🔥 Rule of thumb: If your pen is smoking, or it squeaks, it’s too hot.
Slow, steady movement with gentle pressure is the goal.
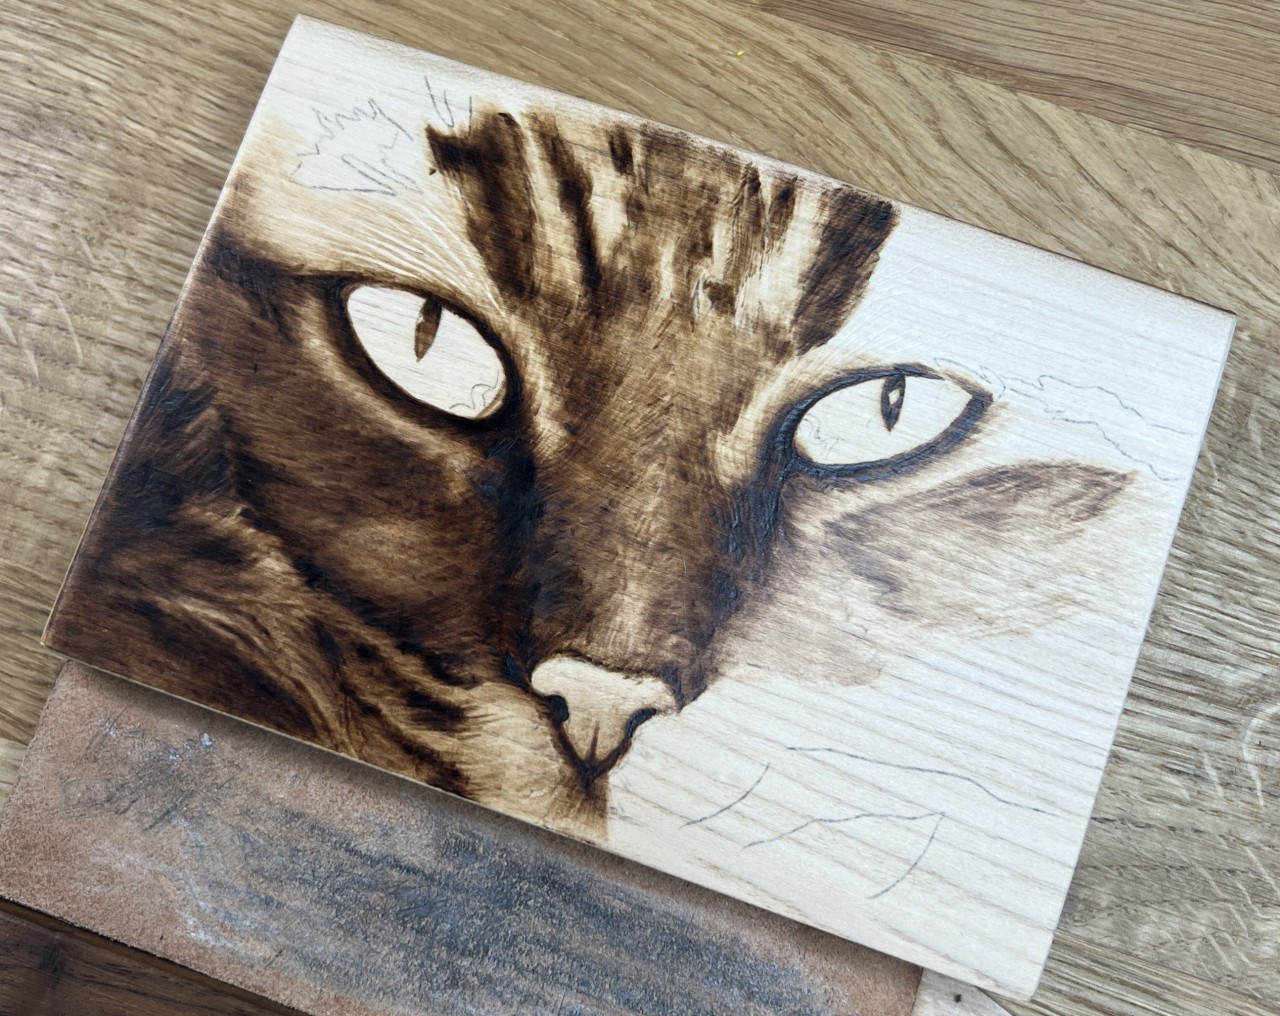
Step 4: Use Layers — Light to Dark
Now the fun part: burning.
Rather than pressing hard to get a darker tone, layer gradually:
-
Lay down a light burn.
-
Let the wood cool (just for a few seconds).
-
Go back over the same area to deepen the tone.
✨ This layered approach helps you create depth and soft transitions — the secret sauce of realism.
📌 Bonus Tip: Change direction ever so slightly with each pass to avoid obvious lines or grain catches.
Step 5: Feather Your Edges (No, not literally)
A good burn blends.
If your shading ends in a hard line, it’ll look stamped on rather than shaded in.
Instead:
-
Use a light scrumbling (circular) motion to soften edges.
-
Or fade out by using a flicking motion, eg; lifting your pen pressure and moving a little quicker at the edges.
You’re aiming for a gradient — not a stop sign.
Step 6: Check Your Progress (And Step Away Now and Then)
It’s easy to go too far or miss something when your face is glued to one area of the board.
🧠 Try this:
-
Step back every 10–15 minutes. (make a cuppa tea)
-
Hold your piece at arm’s length or snap a quick photo with your phone — it helps you see the tones more clearly.
🎯 Are your darks dark enough? Is there still enough contrast? Are your lights getting muddy?
If it’s looking too flat, darken the shadows — not the whole piece. You need contrast, not uniform burn. Look for the subtle changes.
Step 7: Final Touches & Highlights
Once your main shading is in, go back in with tiny adjustments:
-
Deepen a shadow here.
-
Soften a transition there.
And remember: in pyrography, your highlight is the untouched wood.
Don’t burn over it. Protect it like your last piece of chocolate.
Common Shading Mistakes to Avoid:
❌ Burning too hot, too fast
❌ One layer and done (nope — more layers = more depth)
❌ Forgetting the light source
❌ Pressing harder instead of layering
❌ Shading without a plan = patchy results
Final Thoughts: You Don’t Need to Be Perfect — You Just Need to Be Consistent
Shading isn’t magic. It’s muscle memory and patience. The more you practice layering tone and controlling your heat, the more realistic your work will look. You’ll go from "flat pancake fur" to "oh wow, I can feel the texture" — promise.
And if you're stuck? Step away. Then come back with fresh eyes and a cuppa.
You’ve got this.
And if you’re ready to dive deeper, we’ve got step-by-step tutorials inside the
[Phoenix Membership🔥] to help you master shading (without the guesswork).
Happy burning,
Kez x
Categories: : beginners pyrography, How to create shading