Master the Rounded Shader: Tips for Smooth Shading in Pyrography
 Kez Halliday
Learn how to use the rounded shader for smooth gradients, soft transitions, and realistic textures in pyrography.
Mastering the Rounded Shader in Pyrography
Because life’s too short for choppy shading lines.
If pyrography nibs were dinner guests, the rounded shader would be the one smoothing over the awkward pauses, refilling everyone’s glass, and somehow making the evening feel effortless.
It’s subtle. Forgiving. And once you learn to handle it, it can turn flat, lifeless shading into silky-smooth gradients that make people say, “Wait… is that wood or a photograph?”
Whether you’re just starting to explore shading or you’ve been burning for years, the rounded shader deserves a permanent spot in your tool holder. Here’s how to get the best out of it.
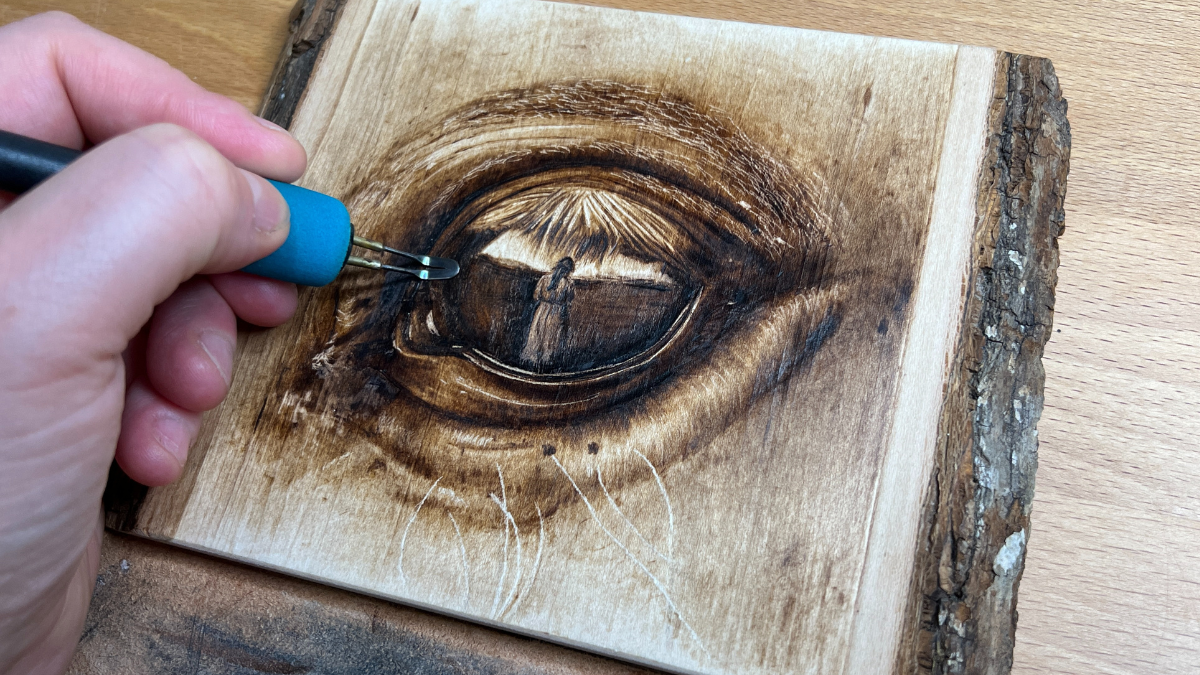
What Is the Rounded Shader, and When Should You Use It?
The rounded shader has a soft, curved edge instead of a flat or pointed tip. That curve is its magic — it lets you blend tones without leaving obvious edges or lines.
Perfect for:
-
Soft transitions in fur, skin, and feathers
-
Gentle background shading
-
Adding depth to fabric folds or petals
-
Blending out harsh edges from other nibs
If you’ve ever struggled with shading that looks patchy, scratchy, or just not quite there, the rounded shader can smooth things out (literally).
How to Use the Rounded Shader, Step by Step:
Step 1: Heat Control
Low-to-medium heat is your best friend here. Too hot, and you’ll leave scorch spots that ruin your gradient. Too cool, and you’ll find yourself pressing harder — which creates dents in the wood and inconsistent tone.
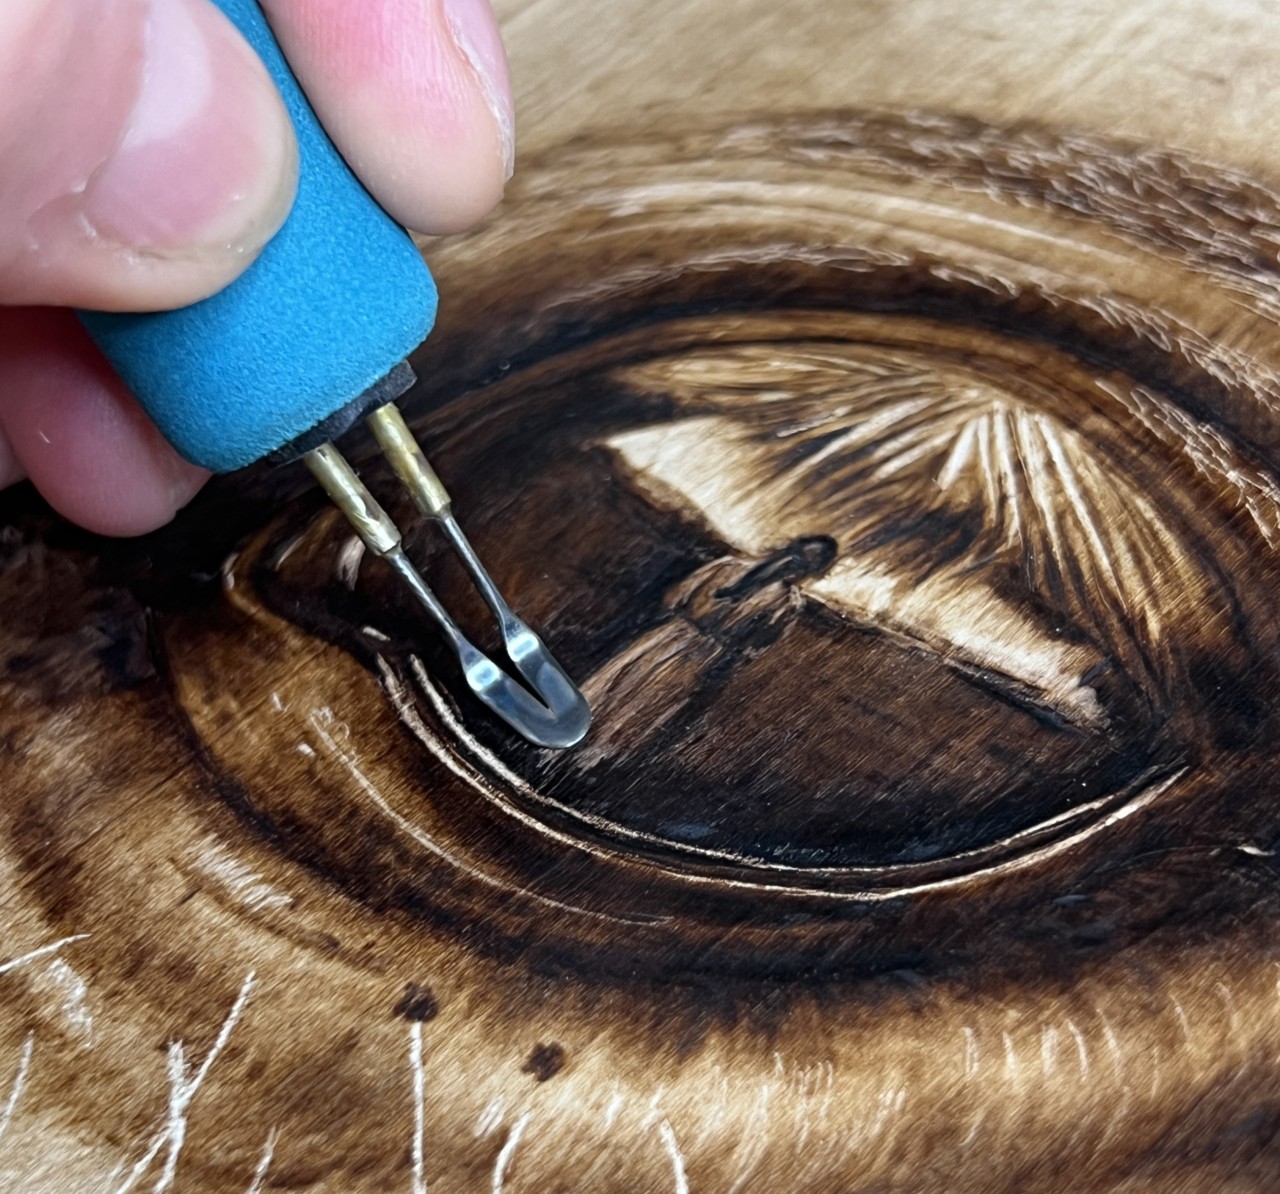
Step 2: Angle & Pressure
Think gentle glide, not iron the life out of it. Rest the rounded edge on the wood and move with slow, steady strokes. You can rock the nib slightly as you go to keep the burn even, or use a soft circular motion for ultra-smooth blending. (Think feather soft touch, when I say gentle pressure)
Step 3: Layering for Depth
Great shading isn’t done in one pass. Build it up. Start light, then add more passes to darken areas gradually. This keeps your control and avoids overburning.
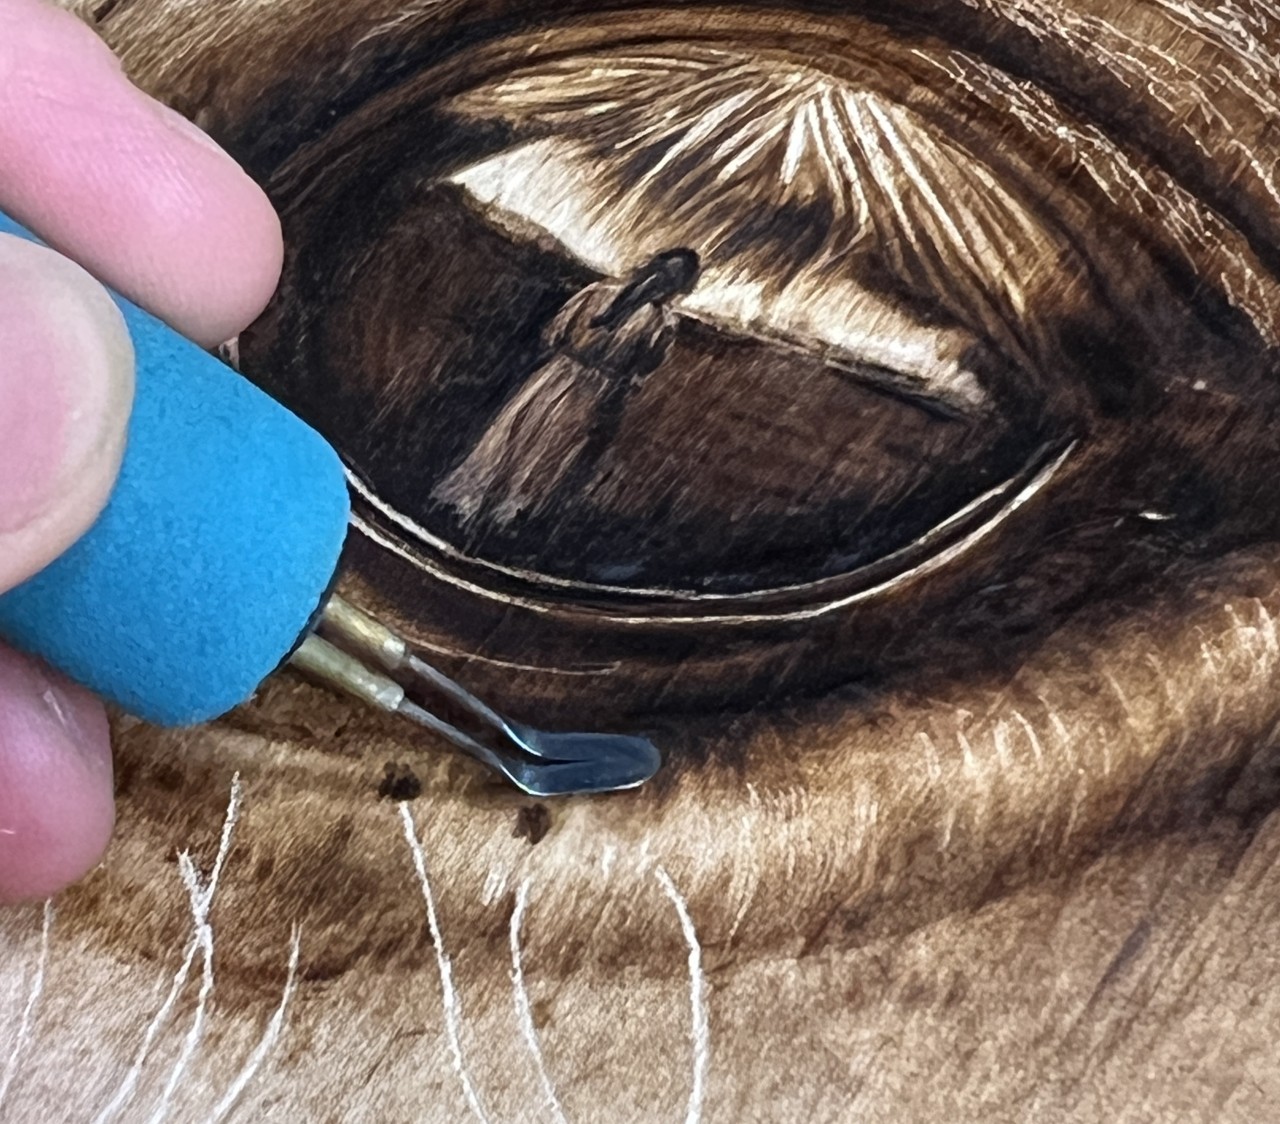
Step 4: Feather the Edges
Overlap your strokes slightly so there’s no sharp line where one section ends and the next begins. This is especially important on skin and fur, where you want natural flow.
Avoid These Common Mistakes
- Overheating → Dark spots or burn blobs that break the illusion of smooth shading.
- Pressing too hard → Creates grooves and uneven tone
- Going too slow → You’ll get burn rings instead of soft transitions.
Tip: Keep a scrap piece of the same wood nearby to check your heat and flow before touching the main piece.
Quick Wins for Better Results
- Warm up on scrap wood before you start your main burn.
- Burn with the grain when possible for cleaner blends.
- Rotate your board to keep your wrist in a comfortable, natural movement — forcing awkward angles is how wobbles happen.
Final Burn
The rounded shader might not have the drama of a skew tip or the flair of a ball tip, but give it a chance and you’ll see — it’s the quiet workhorse of your tool kit.
It’s the nib that takes you from “Good job” to “Hang on, is that a photo?”
So next time you’re staring at a patch of shading that looks a little rough, grab your rounded shader, slow down, and let it work its smoothing magic.
Happy Burning
Kez
Categories: : beginners pyrography, How to create shading, Pyrography Nibs