Mastering the Writing Nib: Your Pyrography Pen’s Secret Weapon
 Kez Halliday
Learn how to use the pyrography writing nib with confidence. Tips for lettering, outlines, detail work, and avoiding common beginner mistakes.
✍️ The Writing Nib: Small Tip, Big Impact
Posted by Kez Halliday | Realism Pyrography Artist & Mentor
If you’re like most pyrography artists starting out (or even a few years in), chances are you’ve looked at the writing nib and thought,
“Is this just for signing my name?”
And yes — it is great for signatures.
But it’s also so much more than that.
Let’s talk about what this little workhorse can do, how to use it well, and why it might just be one of the most underappreciated nibs in your kit.
.
✨ What Is a Writing Nib?
Think of it as the pyrography version of your favourite pen.
It’s usually rounded at the end — some are ball-shaped, others more of a pointed loop — but all are designed for:
-
Smooth, flowing line work
-
Steady heat output
-
Comfortable use for beginners and pros alike
The writing nib is a favourite in most starter kits for a reason — it’s incredibly versatile once you know what to do with it.
.
What Can You Use It For?
This is where the writing nib shines. Use it for:
-
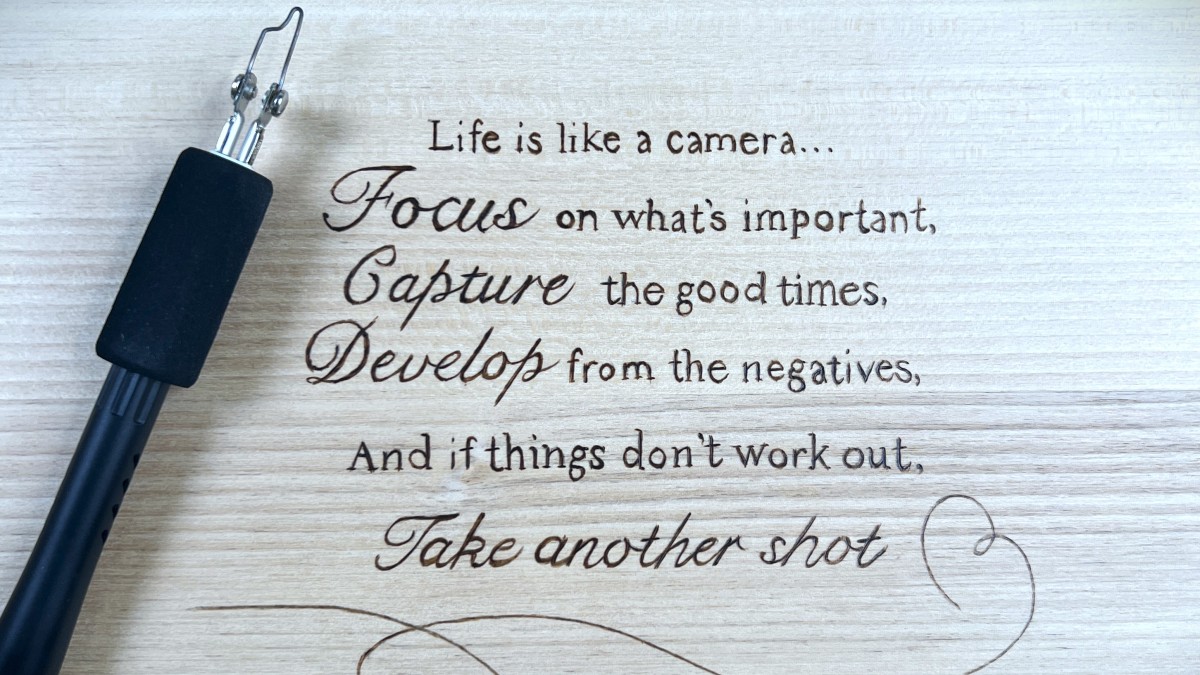
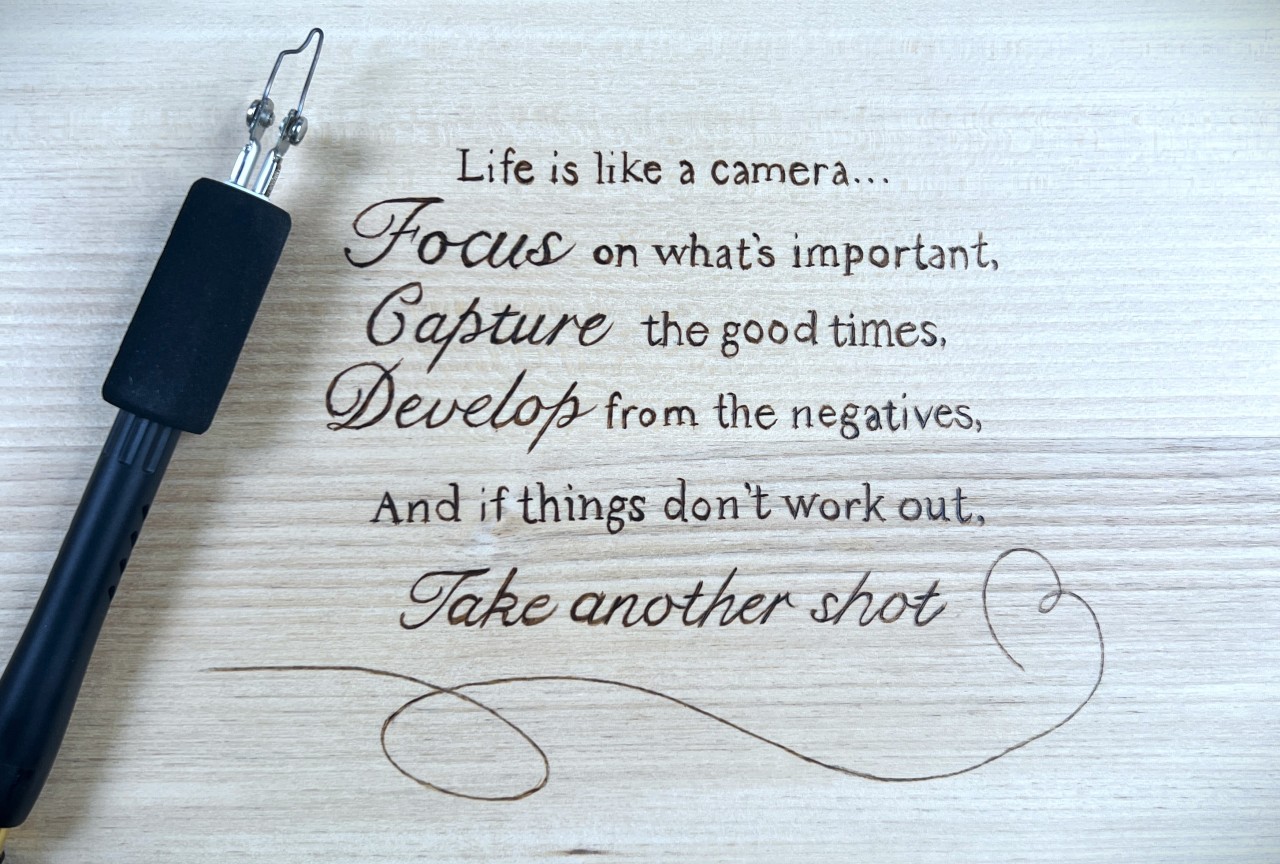
✒️ Lettering – Names, quotes, dates, cursive or block lettering
-
✏️ Outlines – Clean shapes, contours, and edges for portraits or patterns
-
🐾 Fine Details – Short fur strokes, whiskers, woodgrain, feather lines
-
📐 Layout Sketching – Gently map out shapes before shading
Tip: Use it like a pencil sketch — it’s brilliant for structure and detail work without committing to dark burns right away.
.
How to Use the Writing Nib (Without Fighting It)
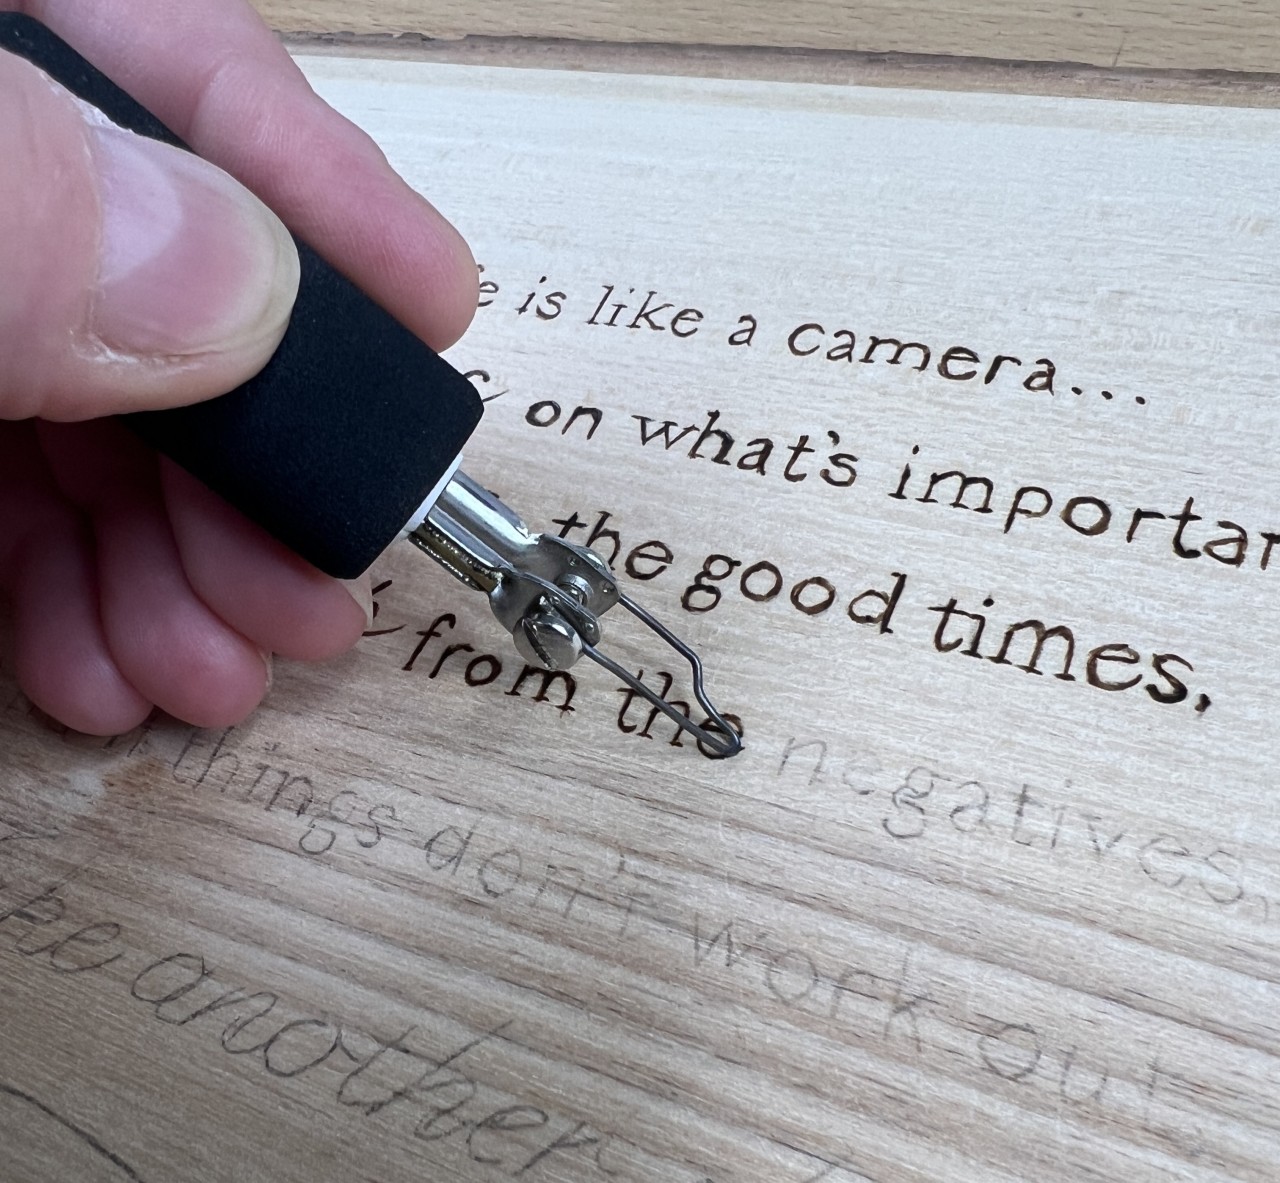
Let it glide.
This nib was made for movement — light, steady pressure and a consistent flow. Here are a few quick tips to help you get the most out of it:
-
Anchor your pinky to keep your hand steady
-
Work slowly for darker lines
-
Speed up to lighten the burn
-
Avoid pressing too hard — pressure doesn’t equal depth in pyrography
-
Don’t "drag" the nib — that’s how wobbly lines happen
You’ll get your best results by treating it like ink on paper — except you’re swapping ink for heat, and paper for a lovely piece of wood.
.
Common Mistakes (That Are Super Easy to Fix)
⚠️ Using it like a shader
This nib isn’t built for blending or filling — it’s a detail tool. If you’re trying to shade a dog’s ear with it, you’re in for a frustrating time.
⚠️ Going too fast
Speed = lighter lines. Which is great if that’s what you want, but not if you’re trying to burn a bold outline and it ends up patchy.
⚠️ Not cleaning it
Carbon build-up on the nib can cause drag and affect your burn quality. A quick clean with a fine sanding stick when it’s cool makes a big difference.
.
Practice Ideas for Total Nib Confidence
Here’s what I tell my students inside the Phoenix Membership:
“Mastering your writing nib is all about practice, and practice is progression. Let go of perfection. You’re not just tracing lines — you’re learning control and build muscle memory”
Try these:
-
Burn your name in cursive, block, and script lettering
-
Create simple borders with loops or scalloped edges
-
Practice repeating short flicks (ideal for fur strokes)
-
Burn a favourite quote — bonus points if it’s cheeky
You’ll be amazed at how quickly your confidence grows once your hand adjusts to the flow.
.
💬 Final Thoughts: A Tiny Tip That Stays Useful
Even after nearly a decade of burning, I still use my writing nib.
It’s reliable, clean, and surprisingly powerful for both small details and big ideas. It’s one of those tools that starts as a beginner essential… and somehow never leaves your desk.
And if you're keen to explore more nib techniques, lettering projects, or realistic fur work — we do that (and more) inside the Phoenix Membership.
🧡 Just remember! You don’t need every tool — you just need to know how to really use the ones you’ve got.
Categories: : beginners pyrography, Pyrography Nibs