Beginner’s Guide to Pyrography (Woodburning)
Burn with Confidence
Welcome to Phoenix Pyrography your starting point for a woodburning journey filled with confidence and clarity.
Start woodburning the right way tools, nibs, and first steps (free PDFs)
Guided Steps
I’ll walk you through every stage, so you’re never left guessing.
Tools Made Simple
Skip the overwhelm, just the essentials you need to start burning.
Relax & Burn
Take it at your own pace. Pyrography is meant to be enjoyed, not rushed.
Freebies
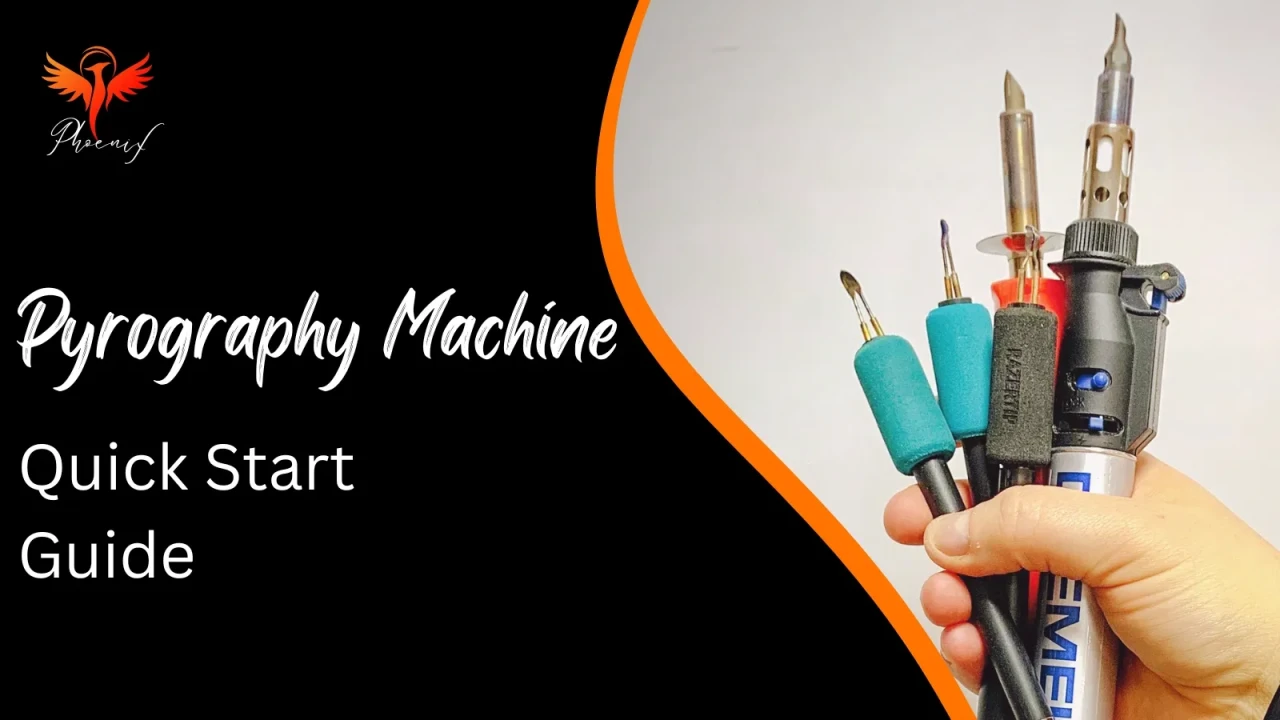
Pyrography Kit Guide
Beginner’s Pyrography Machine Guide – how to choose a burner that suits your needs and budget
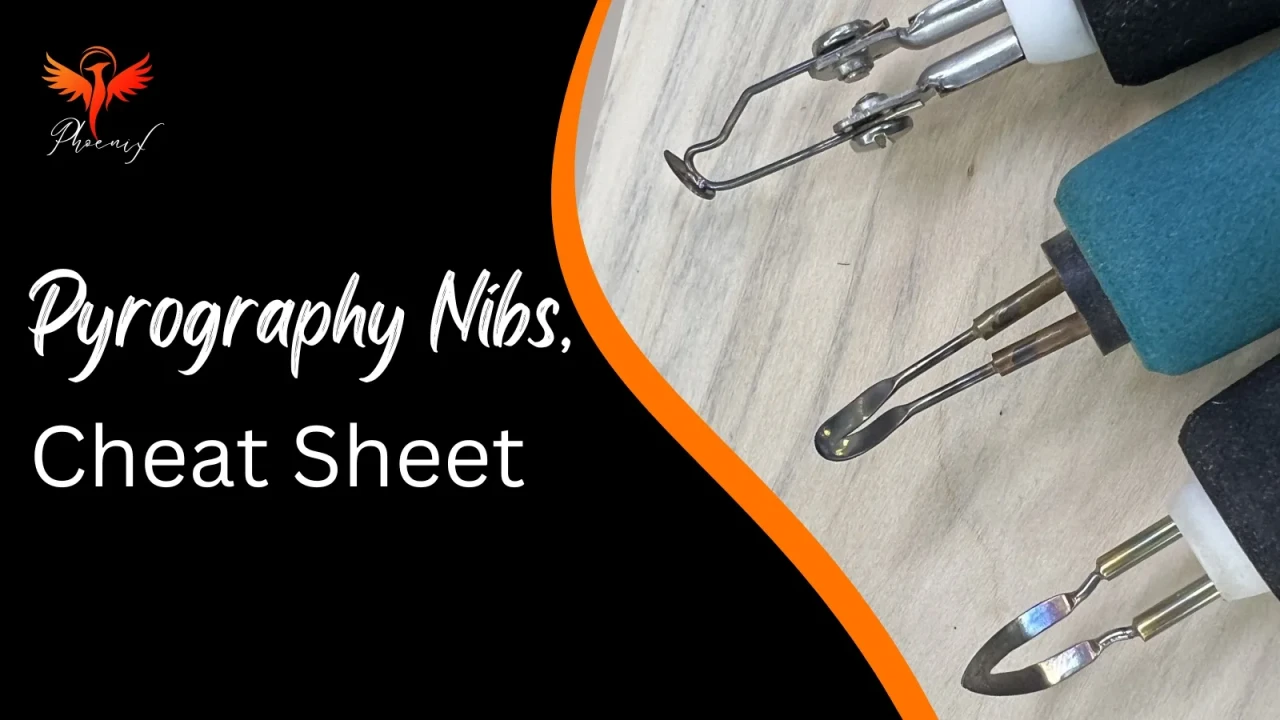
Pyrography Nib Cheat Sheet
What’s Next on Your Pyrography Journey?
You’ve got your tools, your nibs, and your first sparks of confidence, so where do you go from here?
At Phoenix Pyrography, the next steps are all about building skills one layer at a time. Here are a few easy doors you can open when you’re ready:

Learn Shading Techniques
Discover how to create depth and realism with smooth shading. Start with my free blog tutorials or the beginner shading guide.

Try a Pet Portrait
Take your burning further with my free dog’s eye and dog’s nose tutorials, perfect bite-sized projects to practice textures and details.

Create a Realistic Cat Portrait
Ready for a bigger challenge? The Cat Portrait Pyrography tutorial (£27 one-time) will show you how to combine fur textures, layered shading, and eye details to bring your art to life.
Frequently Asked Questions (FAQ)
Is pyrography safe for beginners?
Yes. Work in a ventilated area, avoid burning resinous/treated woods, and use a mask when sanding.
What wood should I start with?
Basswood, birch, Poplar/Tulip, Beech, Lime, Maple, Sycamore, and Cherry with a close grain and a light coloured surface. Avoid Oak, Ash and pine (resin = smoke & sticky nibs).
Do I need an expensive burner?
No. A reliable variable-temperature machine is enough to start. Upgrade when your control improves.
Can I use a soldering iron?
It’ll burn wood, but control and nib choice are limited. A dedicated pyrography tool is better for learning.
How do I transfer photos?
Print, graphite/transfer paper, or graphite stick. Keep lines light so they don’t show through shading.
What if I make mistakes?
Mistakes are part of the process! We’ll teach you how to fix common errors or creatively work around them. Pyrography is very forgiving with the right guidance.